Resume model run from checkpoint
Resuming from checkpoint can be helpful in several situations.
The simplest scenario is where you want to simply run the simulation for a longer amount of time. Another common scenario is where you want to use a single checkpoint file to change conditions in two new “child” runs, and then continue each of these runs.
Here, we include three examples for resuming from checkpoints.
Continuing a run for more time
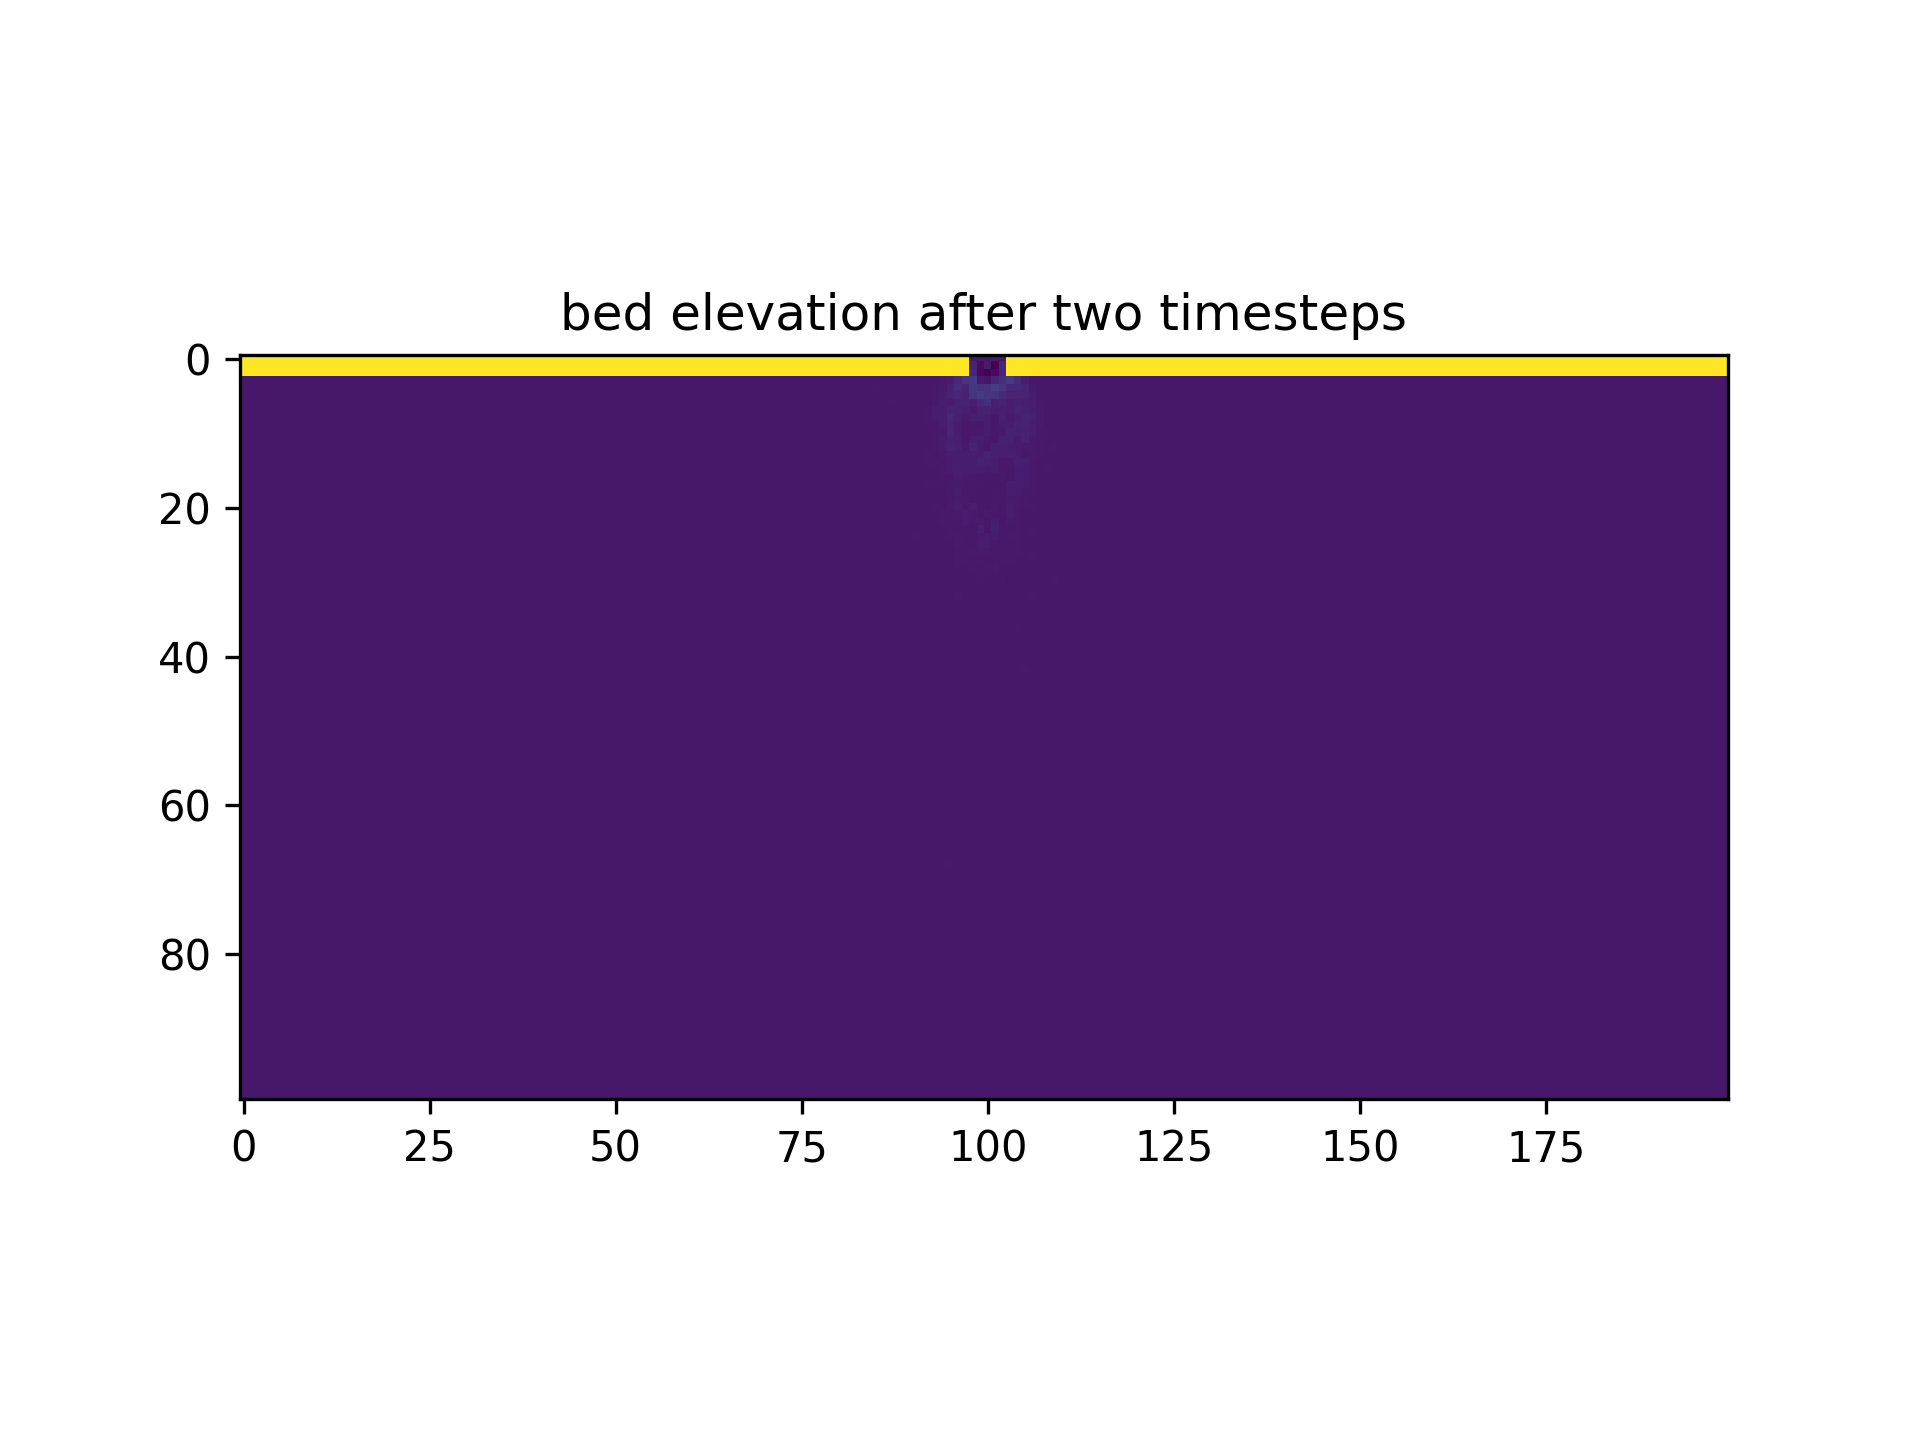
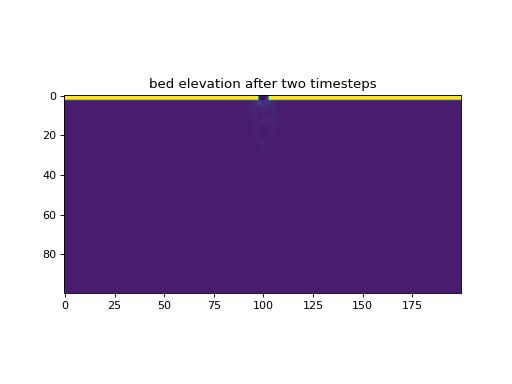
Create a new model run, run it for two timesteps, then finalize model.
delta1 = pyDeltaRCM.DeltaModel(
    out_dir='checkpoint_example',
    save_checkpoint=True,
    checkpoint_dt=1)

for _ in range(2):
    delta1.update()

delta1.finalize()

two_timesteps = np.copy(delta1.eta)
Note
We set checkpoint_dt to 1 so that a checkpoint is saved on every iteration (since we only run two iterations); you probably want to use a small multiple of dt.
fig, ax = plt.subplots()
ax.imshow(two_timesteps)
ax.set_title('bed elevation after two timesteps')
plt.show()
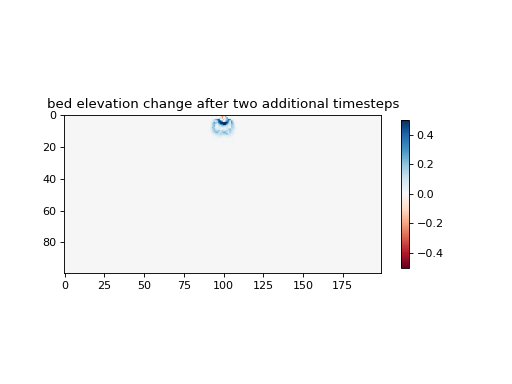
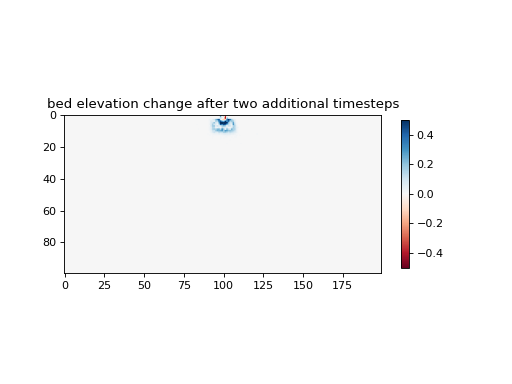
Now, some time later (days, months, etc), we want to run the model for some additional timesteps.
We simply specify the output folder that contains the model and the checkpoint file, and set resume_checkpoint to True.
delta2 = pyDeltaRCM.DeltaModel(
    out_dir='checkpoint_example',
    resume_checkpoint=True)

for _ in range(2):
    delta2.update()

delta2.finalize()

four_timesteps = np.copy(delta2.eta)
diff = four_timesteps - two_timesteps
fig, ax = plt.subplots()
im = ax.imshow(
    diff, cmap='RdBu',
    vmin=-0.5, vmax=0.5)
plt.colorbar(im, ax=ax, shrink=0.5)
ax.set_title('bed elevation change after two additional timesteps')
Continuing a run for more time from any file
In this example, we will run from a checkpoint file that is shipped with pyDeltaRCM.
Referencing the documentation for the resume_checkpoint parameter, it is clear that we can specify a checkpoint file by passing a pyDeltaRCM output folder as a string.
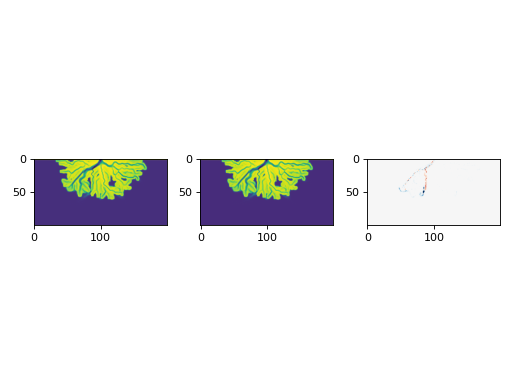
delta = pyDeltaRCM.DeltaModel(
    resume_checkpoint='/path/to/out_dir')
before = np.copy(delta.eta)
delta.update()
after = np.copy(delta.eta)

# set up axis
fig, ax = plt.subplots(1, 3)
ax[0].imshow(before)
ax[1].imshow(after)
ax[2].imshow(
    after - before, cmap='RdBu',
    vmin=-0.5, vmax=0.5)
plt.tight_layout()
plt.show()
Continuing multiple runs from any file with Preprocessor
Here, we set up three jobs which have different f_bedload values, while resuming from the checkpoint file shipped with pyDeltaRCM.
We use the Preprocessor to execute the model runs in this example.
But you could access pp.file_list to get the list of yaml configuration files generated and use these manually with the low-level API, if needed.
This approach would not be a best-practice though, since you can easily pass a custom class to the run_jobs method.
# set up dictionary for parameters and create a `Preprocessor`
param_dict = dict(
    resume_checkpoint='/path/to/out_dir',
    matrix={'f_bedload': [0.3, 0.5, 0.7]},
    timesteps=0
    )

    # let the preprocessor set up the jobs for you from checkpoint
pp = pyDeltaRCM.Preprocessor(
    param_dict)

# run the jobs
#   note: timesteps=0 here, but should be changed to run your jobs!
pp.run_jobs()
Note
We set timesteps=0 above, so that no timesteps are actually run in the documentation! You need to change this to run the jobs!
fig, ax = plt.subplots(1, len(pp.job_list))
for i in range(len(pp.job_list)):
    ax[i].imshow(pp.job_list[i].deltamodel.eta)
    ax[i].set_title(pp.job_list[i].deltamodel.f_bedload)
plt.tight_layout()
plt.show()

Hint
You can pass a custom class to the run_jobs method. This can add custom behavior during instantiation or runtime via hooks, and let’s you use the Preprocessor to set up multiple jobs!